Note
This feature is experimental and may change or be removed in the future.
Eclipse
Eclipse is an Integrated Development Environment that can be used for C and C++ development and debugging. It is available from the Eclipse Foundation website.
The default debugger used by Eclipse is GDB, but this can be replaced with UDB to allow time travel debugging.
This section of the user guide describes the steps that are required in order to use UDB in Eclipse in the following contexts:
Compatible versions
UDB is known to work well with a compatible with a number of Eclipse versions, including Mars (4.5.1), Luna (4.4.2) and 3.8.1, and is likely to work with other versions too. The following instructions are written for Eclipse Mars (4.5.1), and some minor adjustment may be required for different Eclipse versions.
First steps
In all debugging scenarios, the following steps are required in order to enable reverse debugging buttons in the Eclipse GUI:
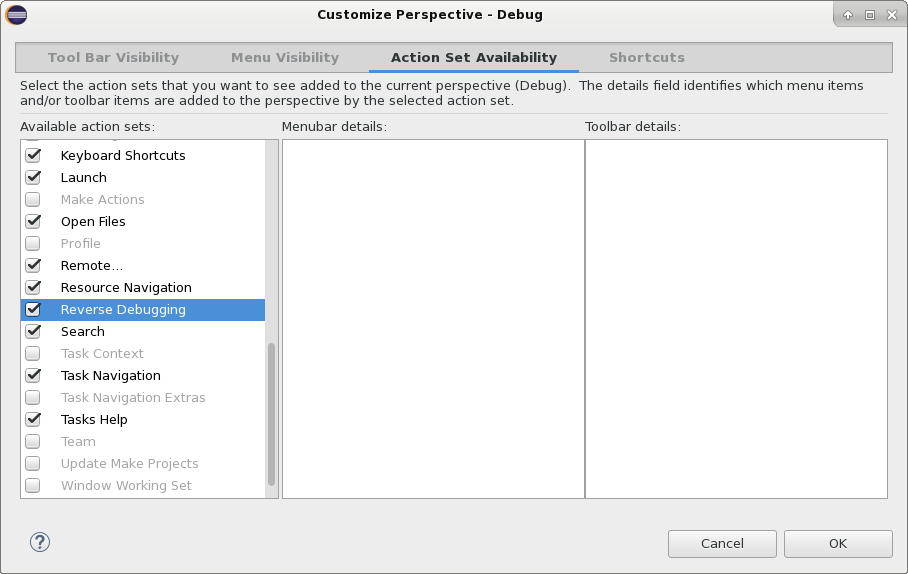
Choose Window -> Perspective -> Customize Perspective…
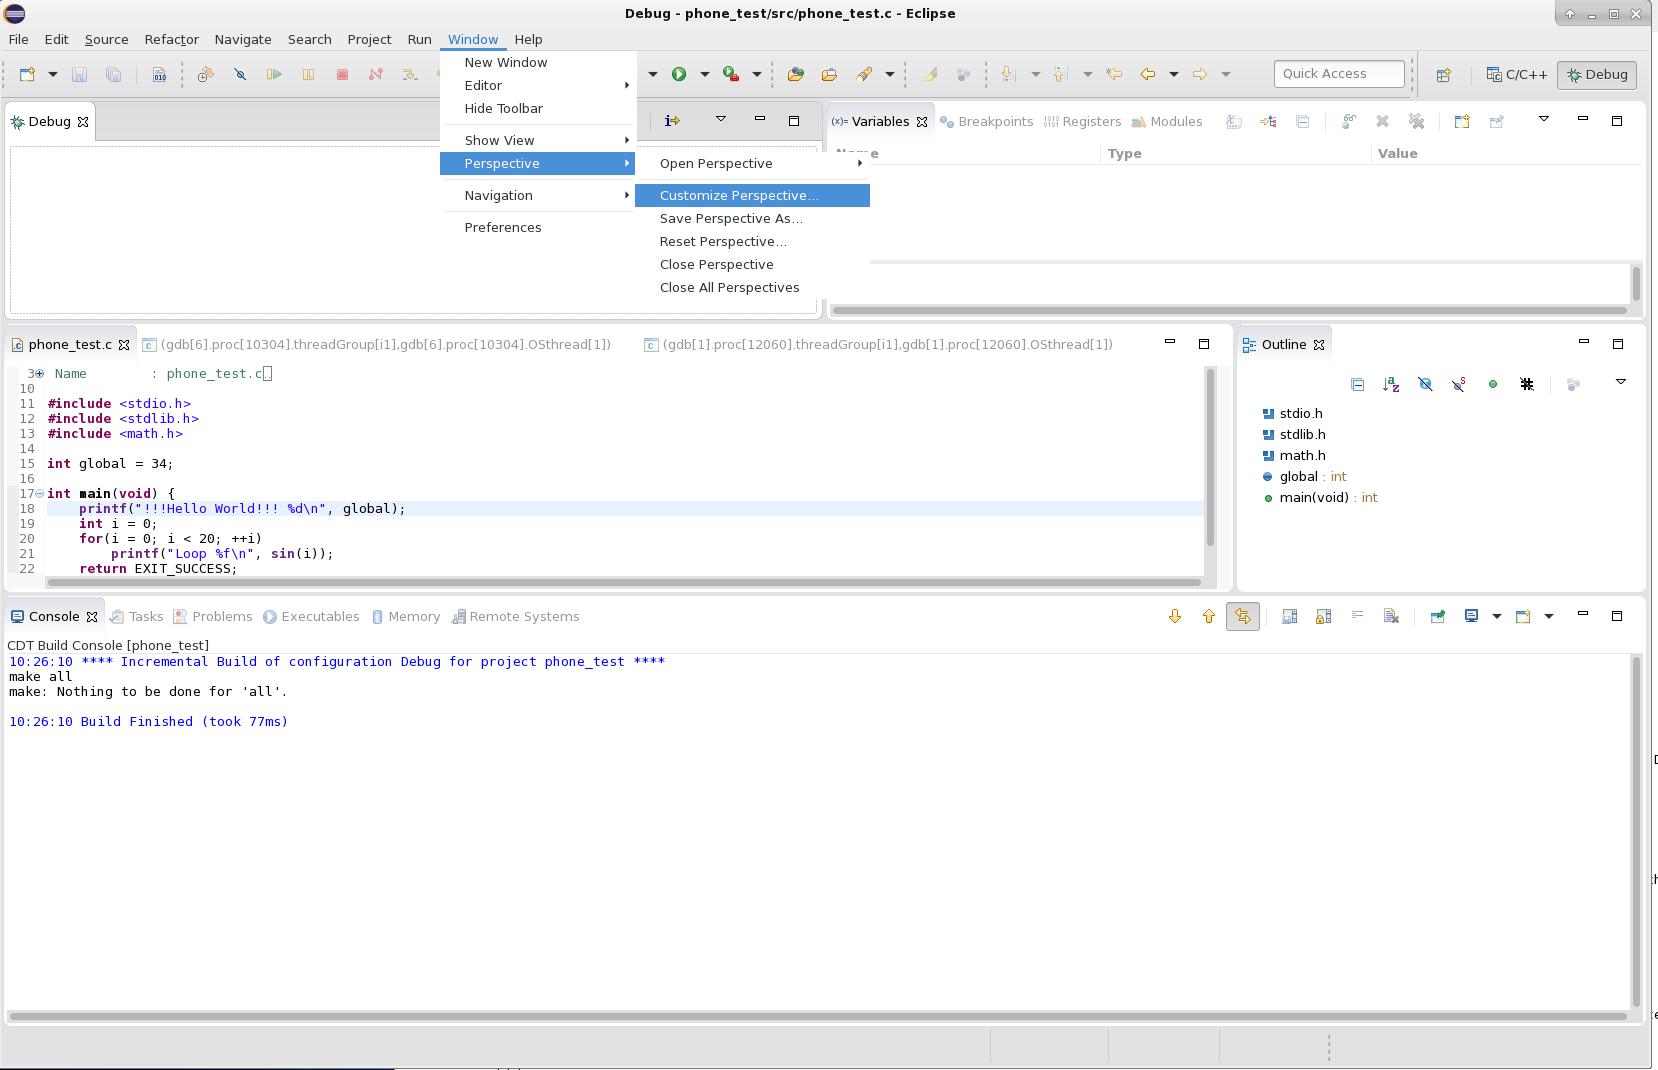
Choose the Action Set Availability sub-tab and check the Reverse Debugging option on the left hand side (note that it may be grayed out, but it can still be checked). Then click OK.
Debugging a local target
Enable the Eclipse reverse debugging buttons as explained in First steps
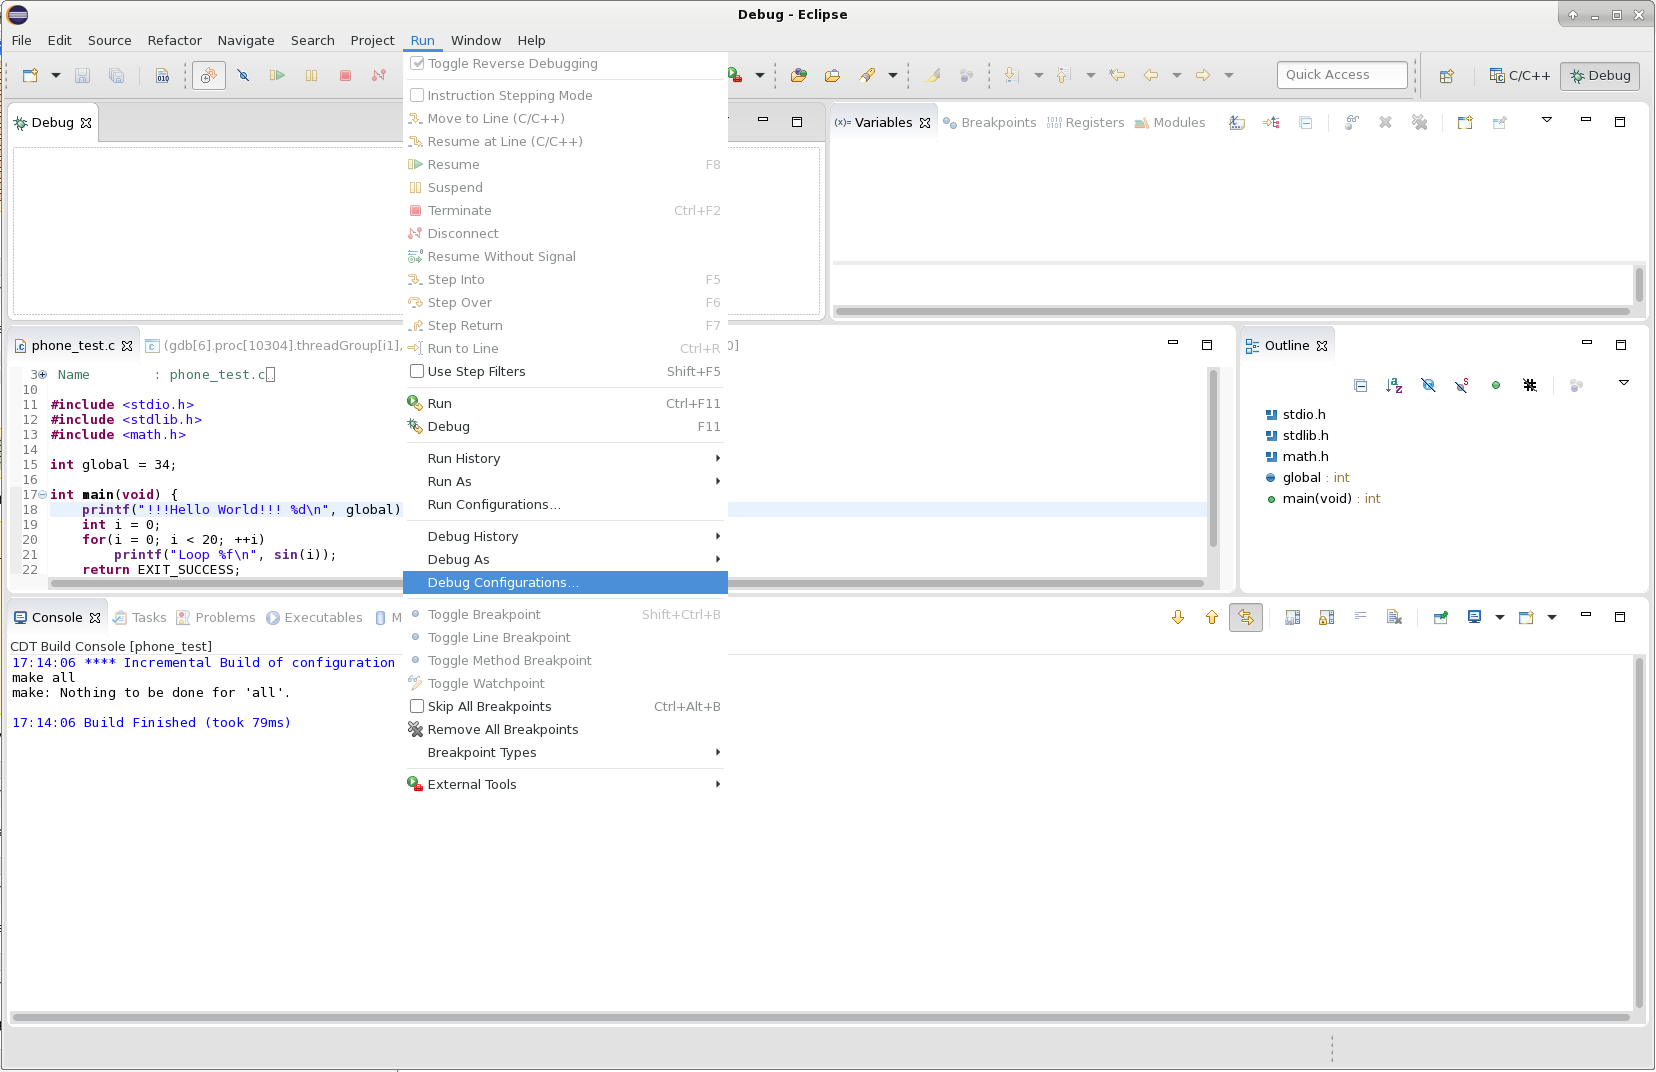
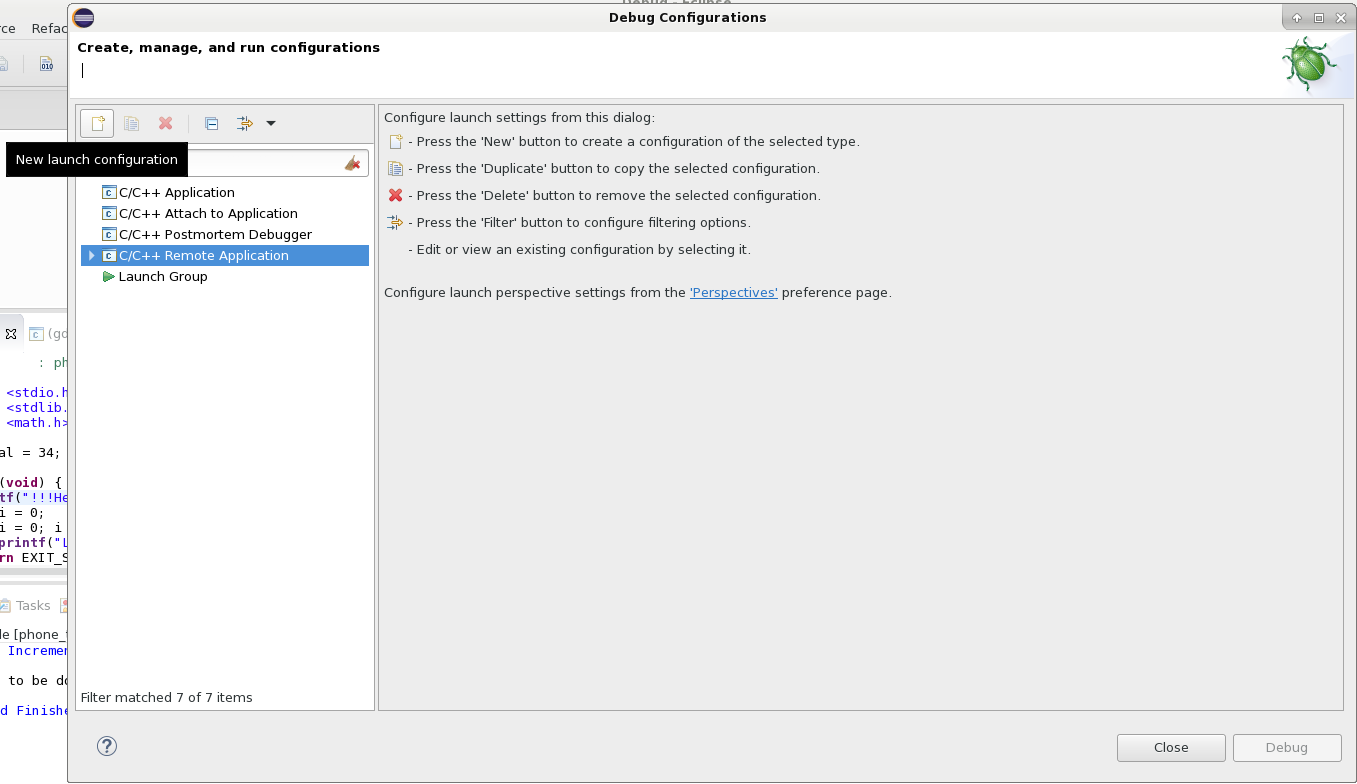
Open Debug configurations…
Choose C/C++ Application from the left hand side.
Choose the Debugger tab and enter the path to udb in the GDB Debugger box. Check the Enable Reverse Debugging at startup check box.
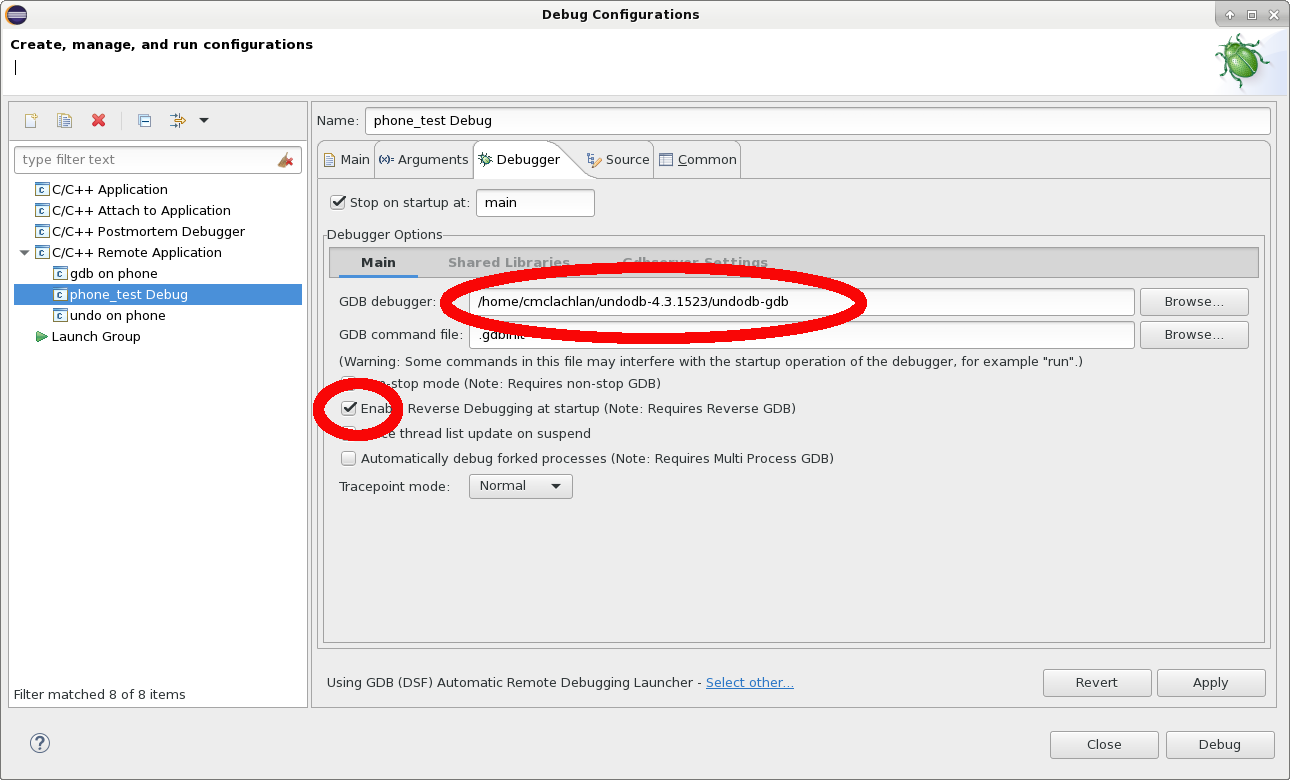
Click Debug to start the debug session.
Eclipse will stop at the beginning of
main(). The target can be debugged normally, including with reverse-execution operations that are available as buttons on the toolbar.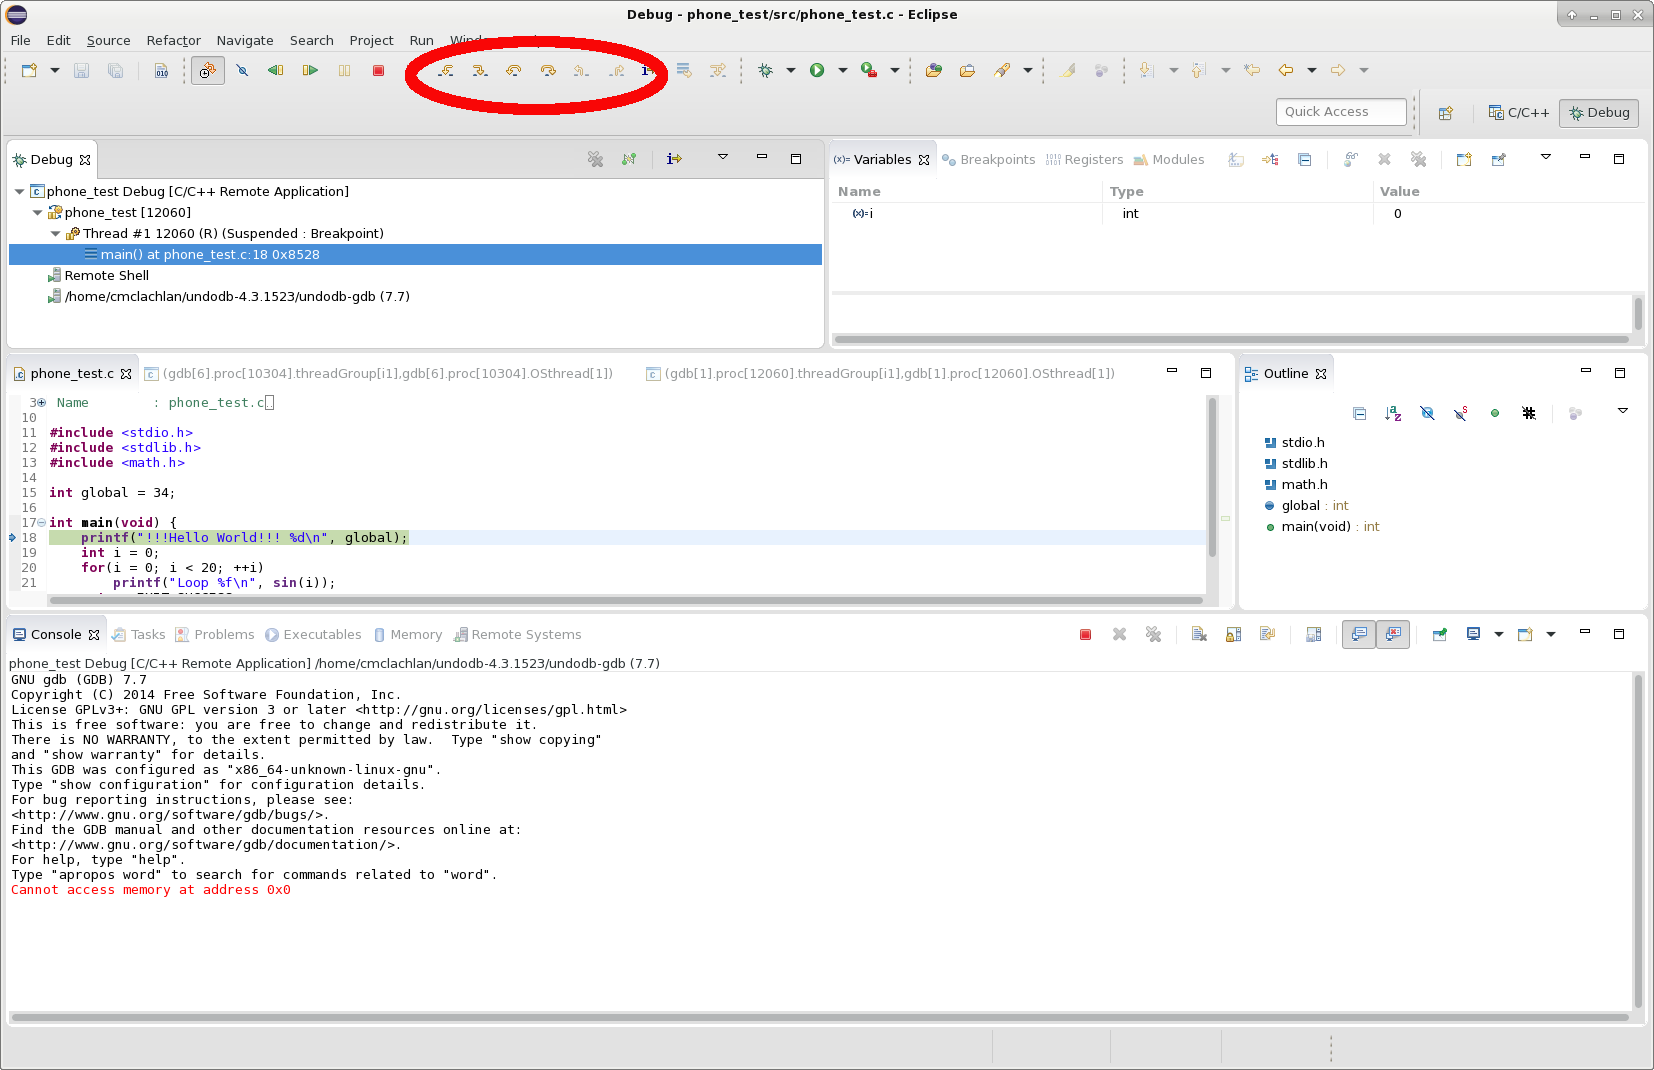
Debugging a remote target
Enable the Eclipse reverse debugging buttons as explained in First steps
Copy the remote debugging server onto the remote target as explained in the Installing udbserver on the target section.
Open Debug configurations…
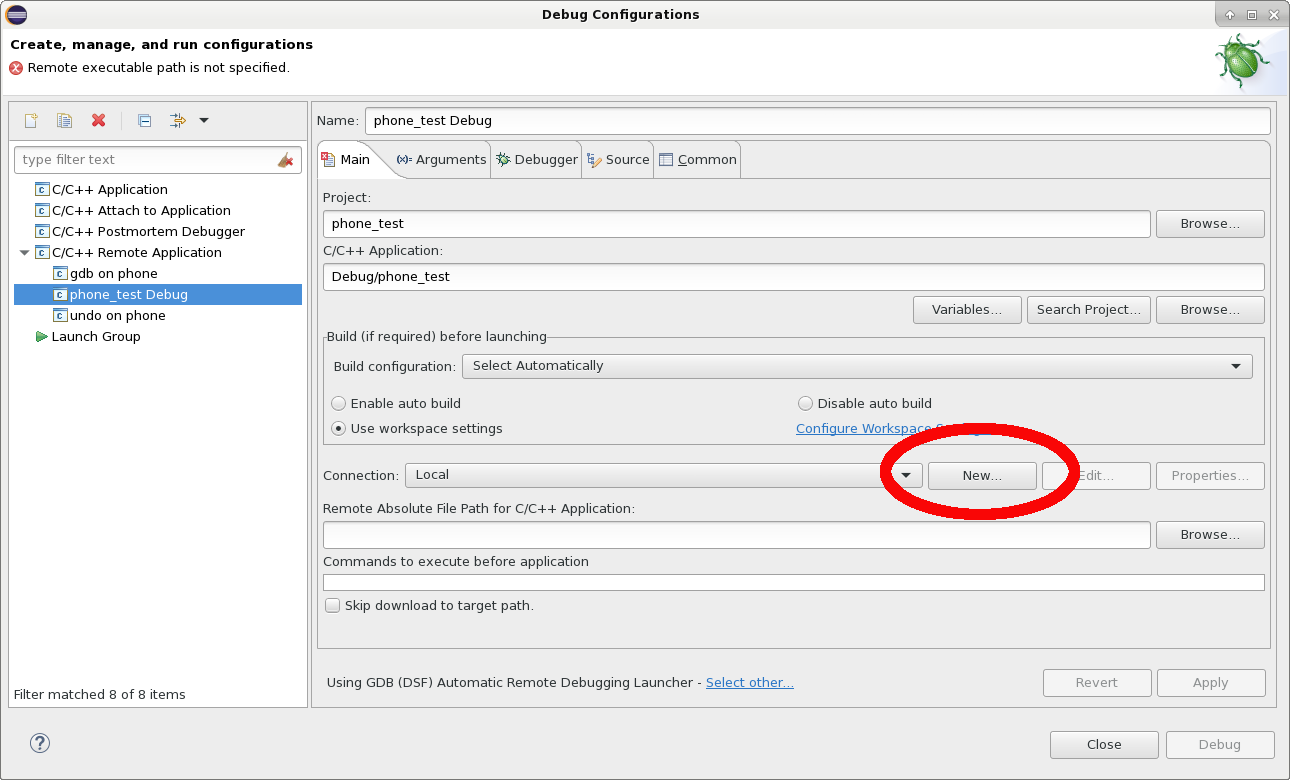
Choose C/C++ Remote Application from the left hand side and click the New button.
Click the New button next to Connection.
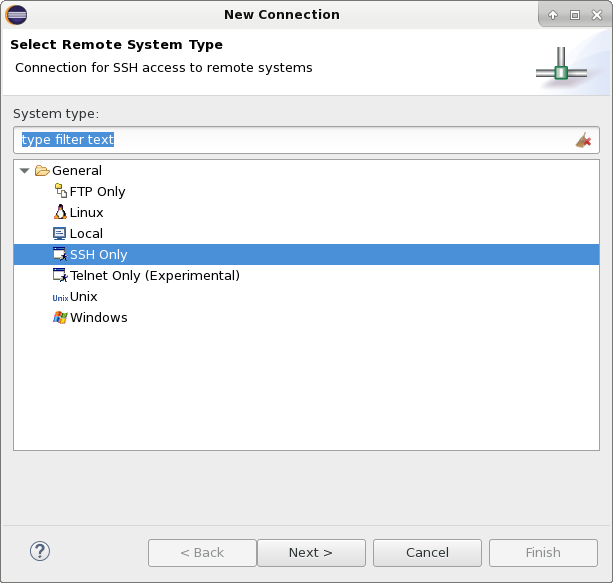
Choose SSH Only and click Next.
Put the IP address of the remote system into the Host Name: box and give the connection a name.
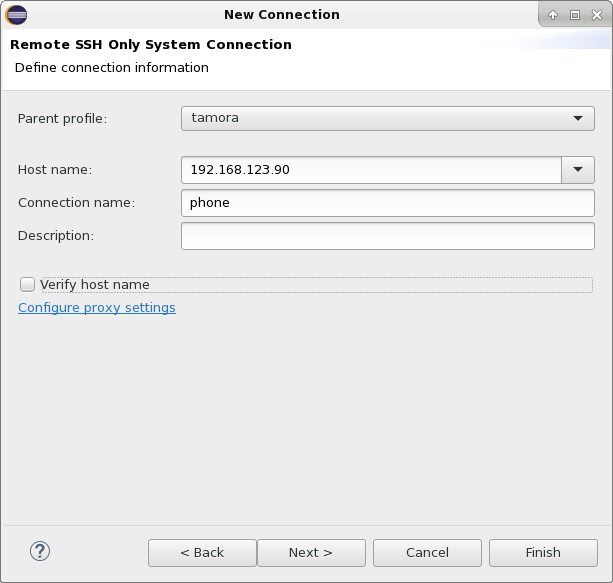
Continue pressing Next, then Finish.
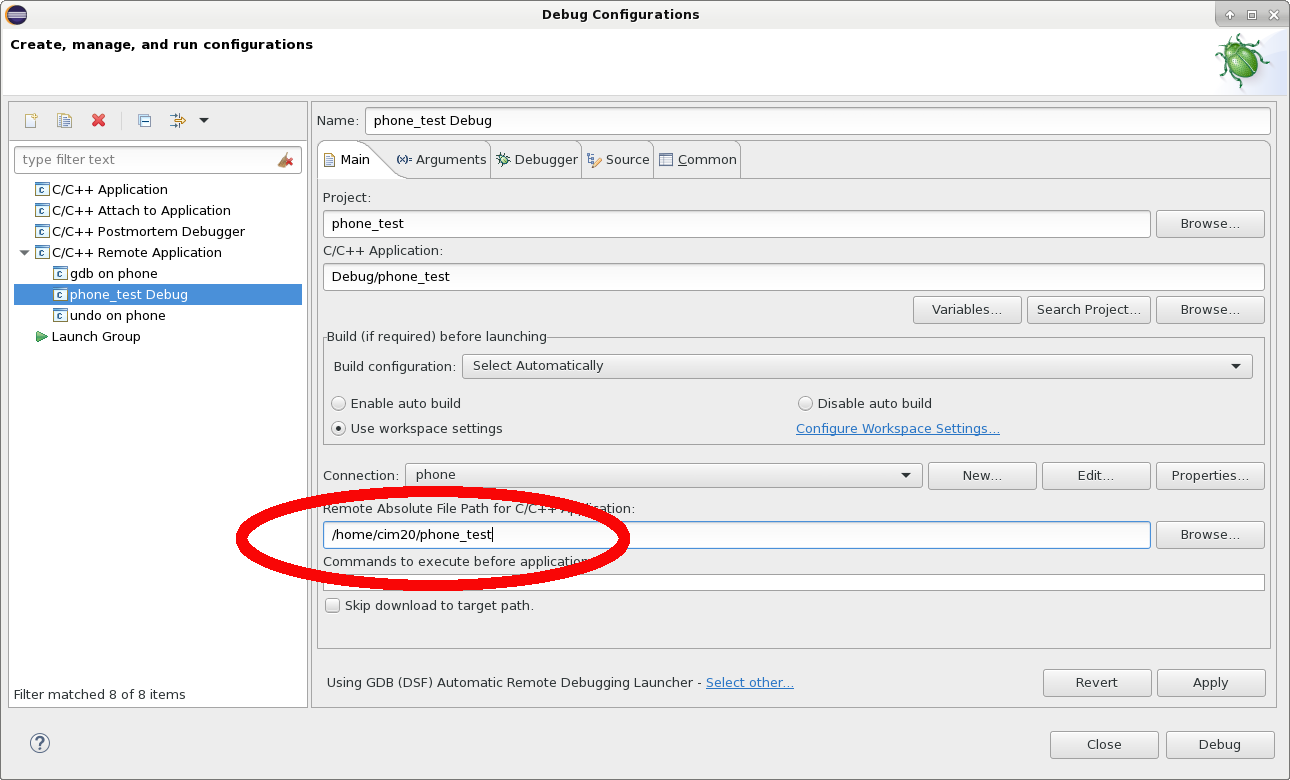
Make sure the new connection is selected in the Connection: drop down.
Specify a valid destination path for the binary on the remote machine in the Remote Absolute File Path for C/C++ Application: box.
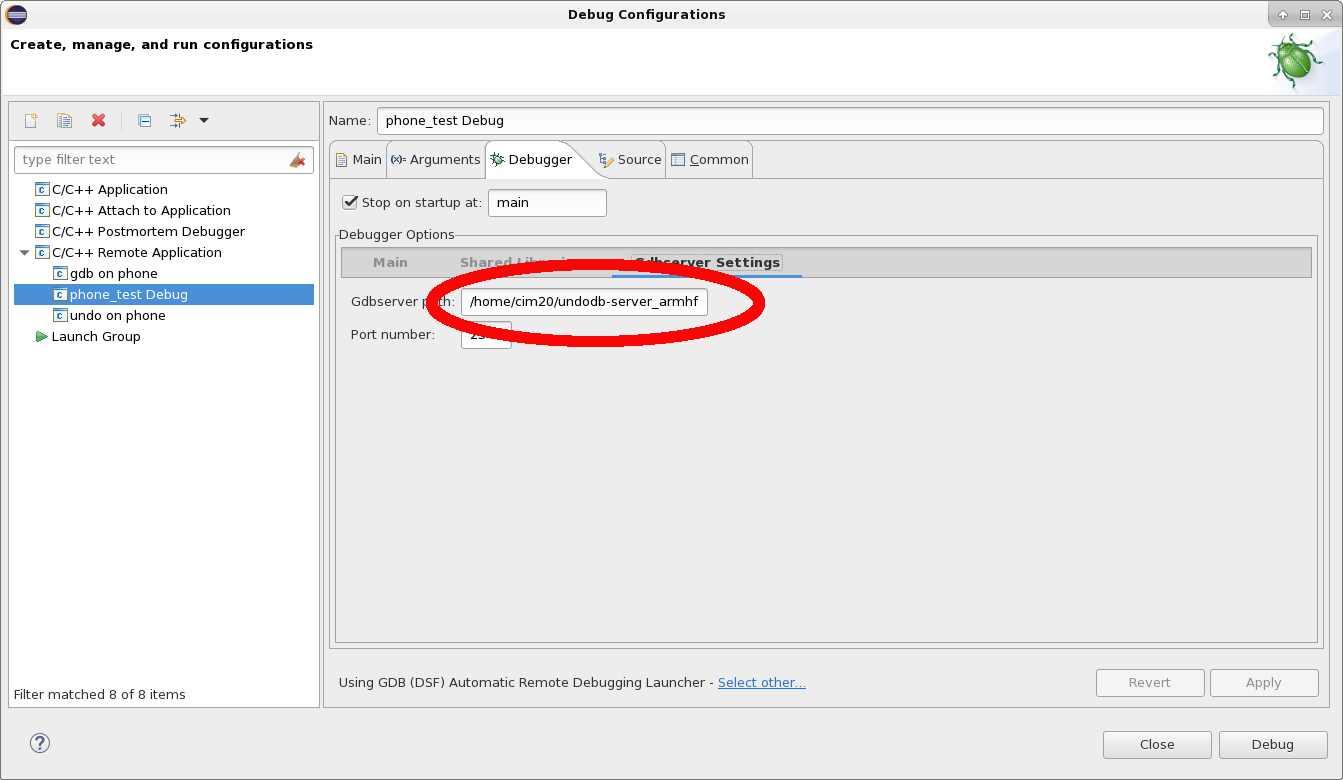
Choose the Debugger tab and fill in the path to udb on the host machine (that is, the machine running Eclipse) in the GDB Debugger box. Check the Enable Reverse Debugging at startup check box.
Choose the Gdbserver Settings sub-tab and put the remote machine’s path to udbserver_<arch> in the Gdbserver path box.
Click Debug then (if required) fill in the remote user and password in the SSH box that appears.
The binary will be copied to the remote machine and started with udbserver. Eclipse will stop at the beginning of
main(). The target can now be debugged normally, including with reverse-execution operations that are available as buttons on the toolbar.
Replaying Undo recordings
Undo recordings can be replayed in Eclipse with the use of a remote udbserver instance.
If the recording was created on a foreign CPU architecture, then it must be replayed through a remote session on a device matching that architecture.
If the recording was created on a machine with the same CPU architecutre as that of the machine running Eclipse, the recording can be replayed on the local host but a remote debugging configuration is still required in Eclipse.
Note
Make sure the binary being recorded is the one compiled by Eclipse. On replay, Eclipse will issue a gdb file filename command with that binary, and if it doesn’t match the binary used to make the recording, no source code or function names will be displayed.
To configure Eclipse to replay recordings, follow the steps in Debugging a remote target, with the following additional steps:
Write a wrapper script on the remote machine that starts the right udbserver (see above) with the recording you’ve just made, and uses the port number that Eclipse will pass through:
#!/bin/bash
./udbserver_<arch> --eclipse-port $1 --load-file <recording>.undo
The architecture of the udbserver instance (represented by
<arch>) must match the architecture of the machine on which the recording was originally created.Note
Eclipse passes some additional arguments to the script containing the binary being replayed and any specified arguments, but these can safely be ignored because the binary and the arguments used during recording are contained in the recording file.
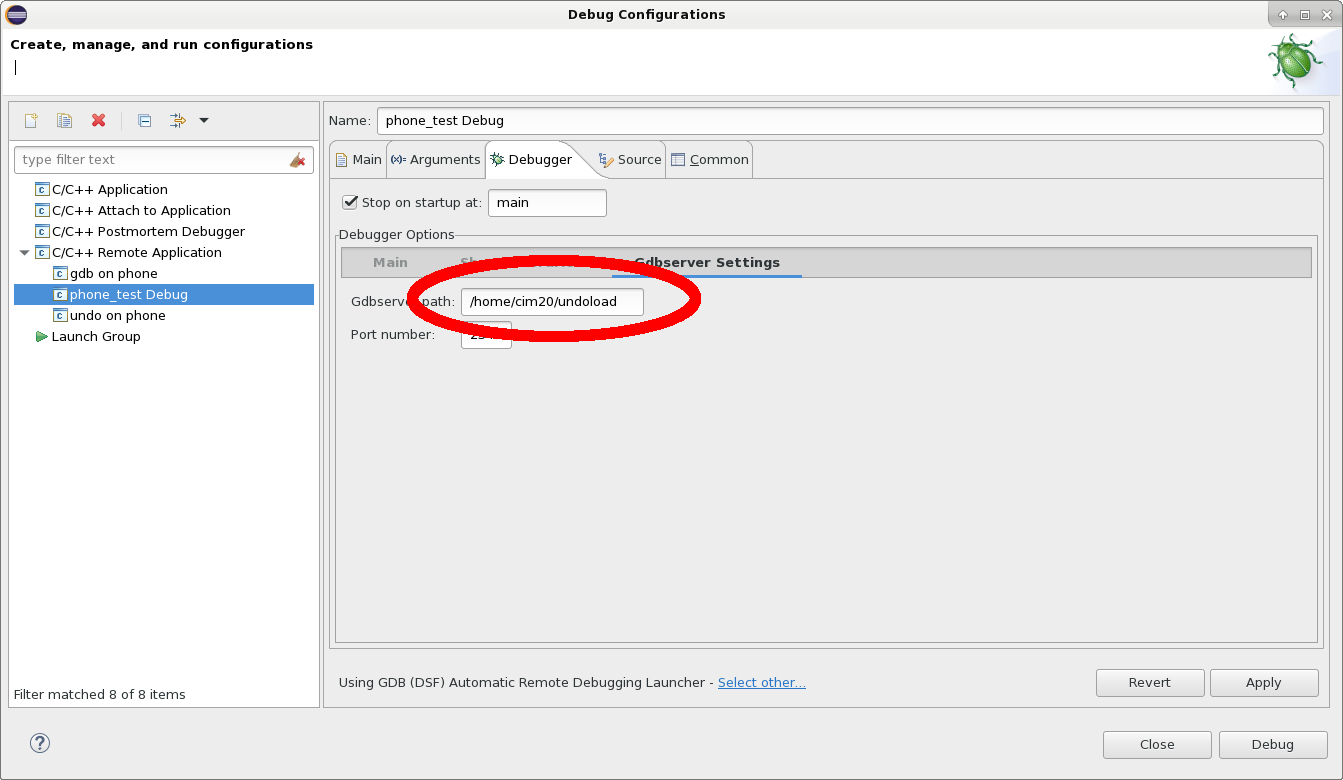
Change the path in the Gdbserver path box so that it points to the wrapper script on the remote machine.
Start the debug session.
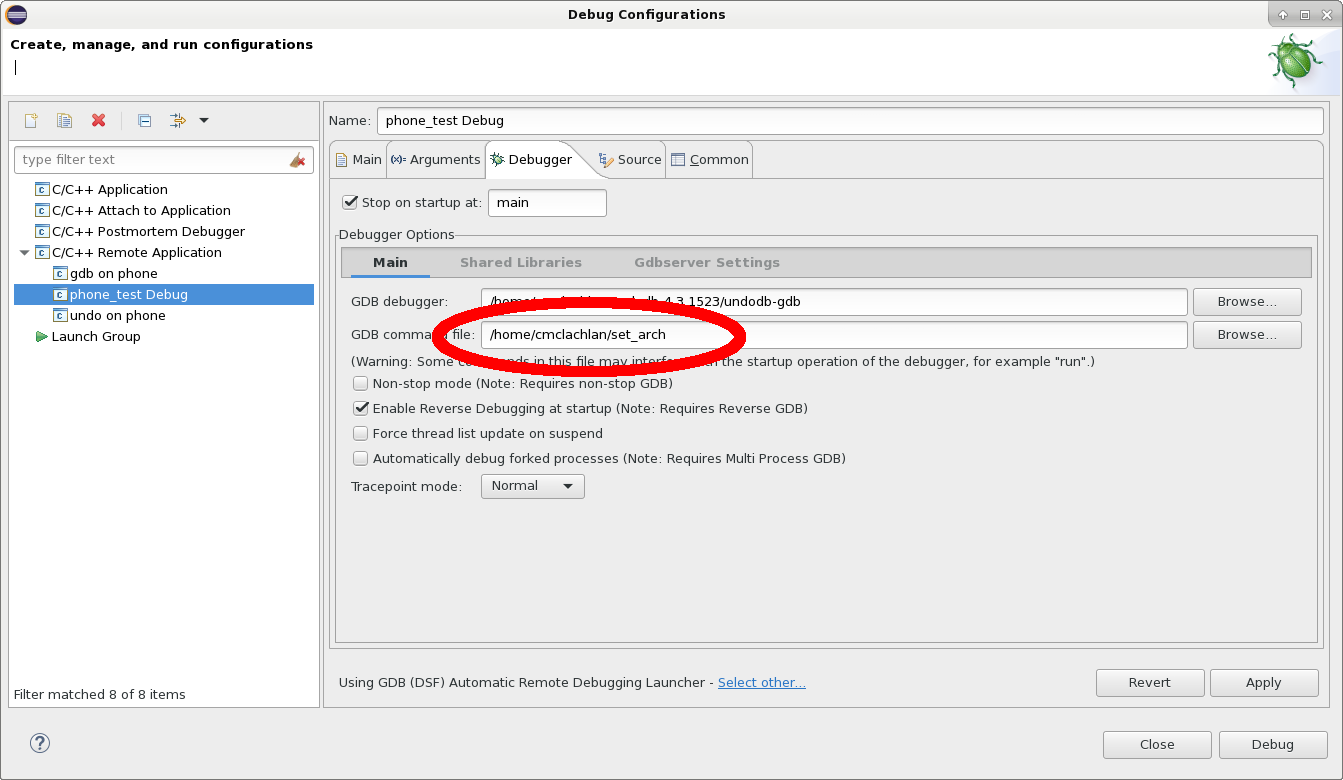
Note that when replaying a foreign-architecture recording, the following additional steps are required:
Write a
gdbinitscript on the host machine that specifies the architecture of the remote machine. It should contain the following text:set architecture arm
Tell Eclipse to run that file by adjusting the debug configuration set up previously so that its name is in the GDB Command file: box
Troubleshooting
If you encounter any problems when using UDB in Eclipse, the following information may be helpful.
If Eclipse displays the error Error during file upload. Missing element for : ''
it might mean that either the source or the destination of the scp of
the binary to the remote machine is invalid. Check that the contents of the
Remote Absolute File Path for C/C++ Application: contain a valid absolute
path on the remote machine. It may also be required to fully specify an
absolute path to the source binary (on the machine running Eclipse) in the
C/C++ Application box of the same dialog.
The message Operation failed. File system input or output error indicates
that the SSH connection to the remote machine has either closed or has become
confused in some way. This can be corrected by forcing a disconnect. Find the
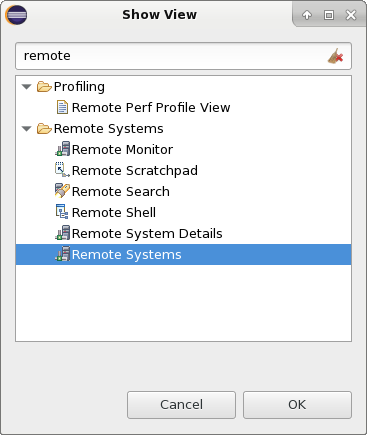
Remote Systems panel. You may have to choose
Window -> Show View -> Other…
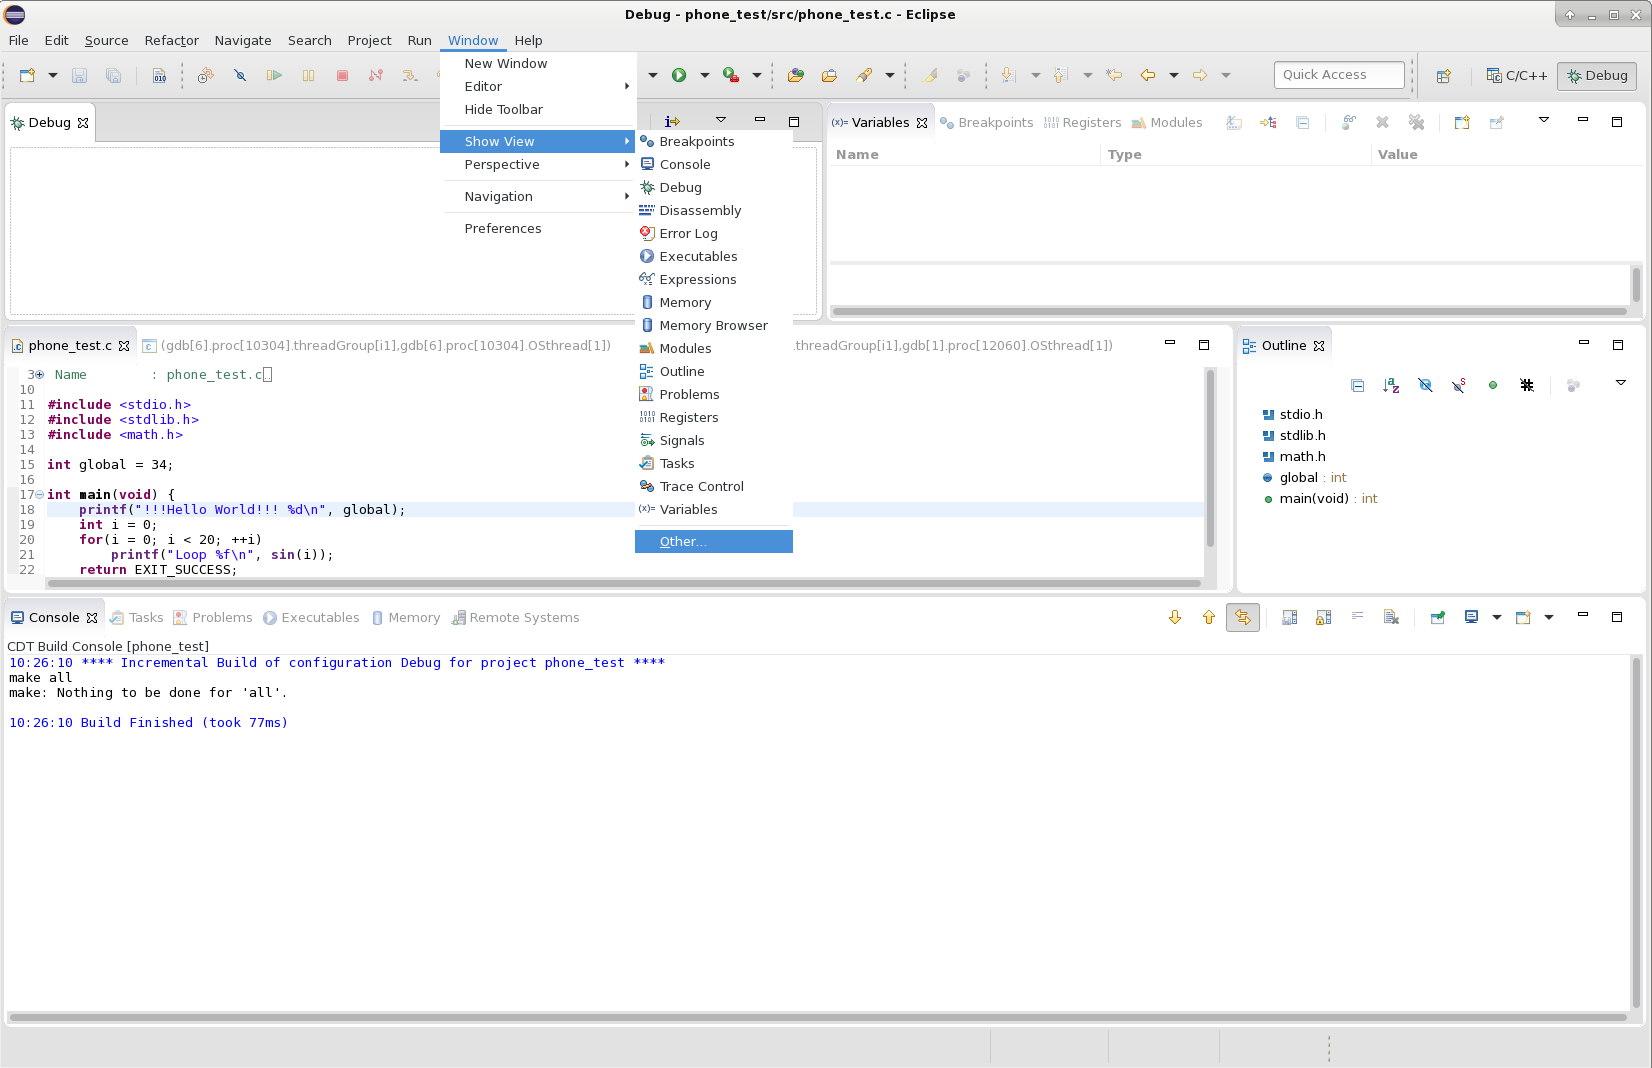
then type “remote” into the filter box and select Remote Systems.
Choose the right connection from the connection list and choose Disconnect
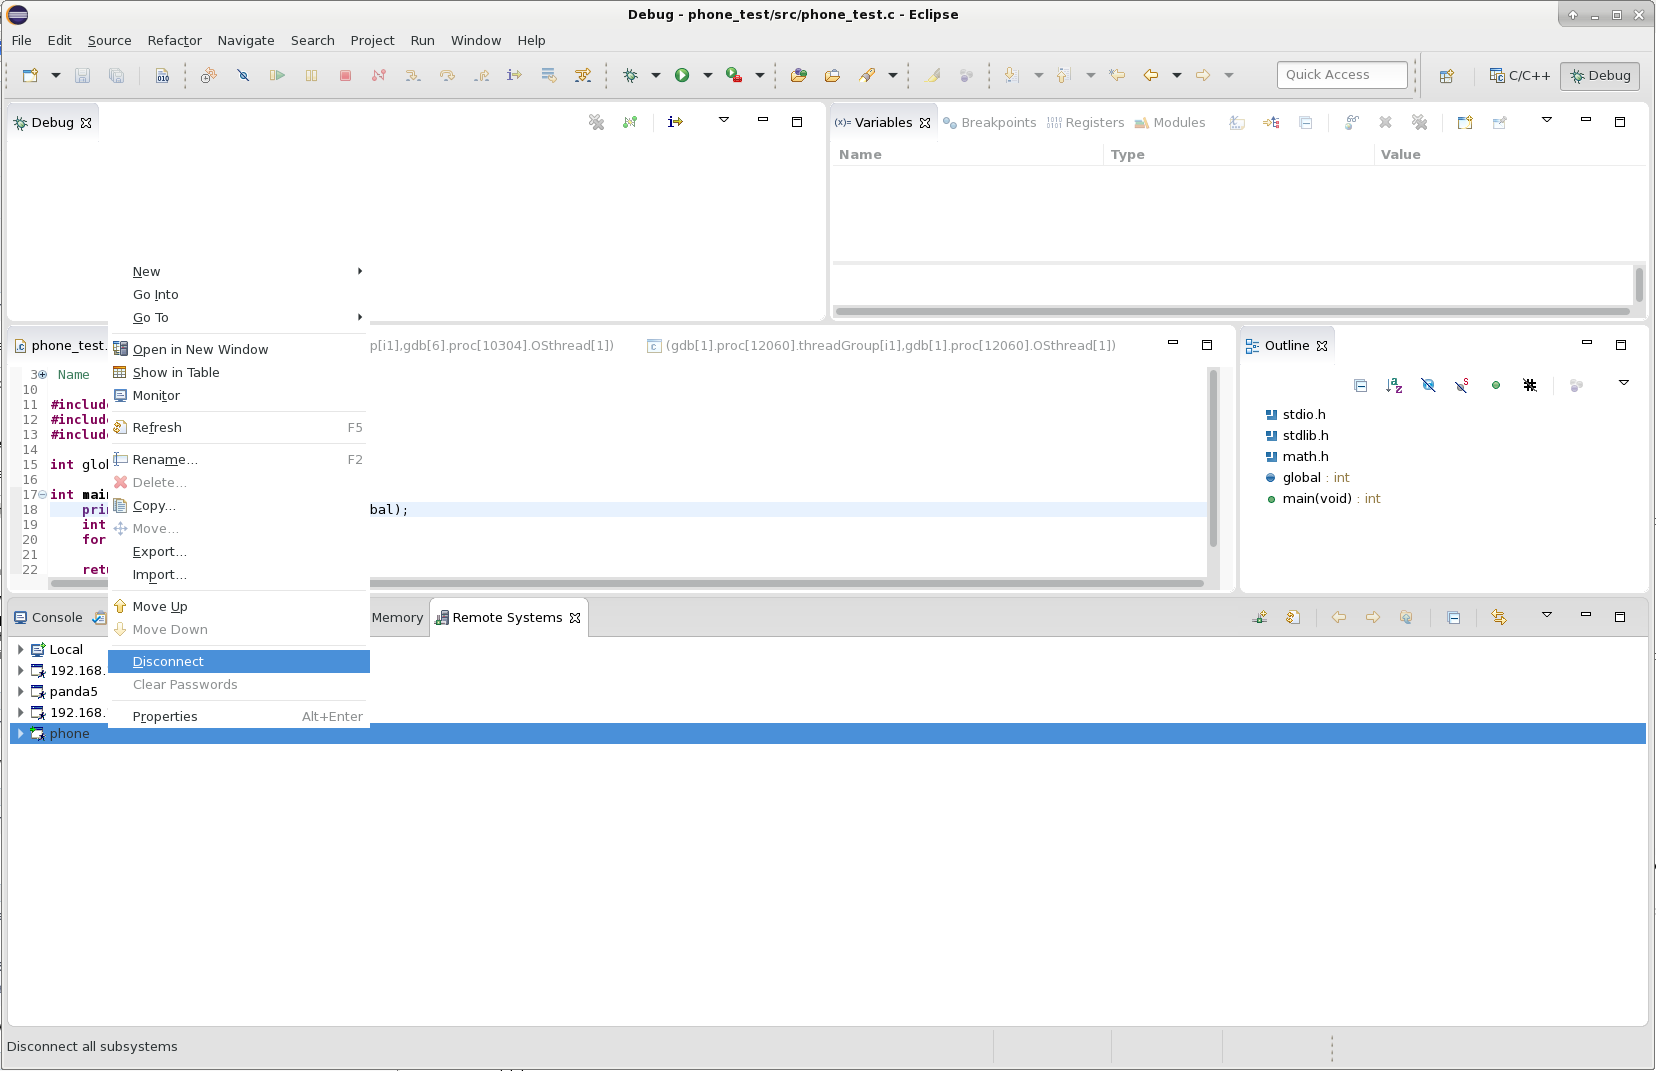
then restart the debug session by clicking the Debug button on the Debug configurations dialog.
The following message:
Session.connect: java.security.InvalidAlgorithmParameterException: Prime size must be multiple of 64, and can only range from 512 to 1024 (inclusive)
means that your Java Virtual Machine (JVM) is too old. Upgrade to at least 1.8.0.
If Eclipse says
Could not determine GDB version using command: udb --version
It might mean that you have not copied the key file onto the target.